Creating professional-looking videos used to require expensive software, technical knowledge, and hours of editing. Today, AI video generators make it possible for anyone whether they are marketers, educators, content creators, or business owners to create high-quality videos without any video editing skills at all.
With just a script, idea, or even a blog post, AI tools can automatically generate scenes, visuals, voiceovers, captions, and transitions for you. Below, we’ll explore five powerful AI video generation tools, along with step-by-step instructions on how to create videos using each one.
AI video tools handle the heavy lifting by:
● Converting text (scripts, blog URLs, outlines) into structured scenes with matching visuals.
● Auto-adding subtitles, voiceovers, and transitions so you do not work frame by frame.
● Using avatars or stock footage instead of requiring you to film on camera.
This is why they are ideal for creators, marketers, teachers, and founders who want fast output without editing skills or a production team.
HeyGen focuses on text-to-video with realistic talking avatars and built-in voiceovers, making it ideal for tutorials, how-to videos, product explainers, and internal training.
1. Sign up and start a project
● Go to the HeyGen website and create or log into your account.
● From the dashboard, choose the AI video or text‑to‑video option, then pick a blank canvas or a template (landscape, square, or vertical).
2. Add your script or text
● Paste your script into the text box, or upload a document for the tool to split into scenes.
● Adjust section breaks so each paragraph or sentence becomes its own scene for smoother pacing.
3. Choose avatar, voice, and style
● Select an avatar from HeyGen’s library and preview how it looks and sounds.
● Pick an AI voice or voice clone, then choose format (16:9 for YouTube, 9:16 for Reels/Shorts) and a template or brand style.
4. Customize visuals (optional but simple)
● Add your logo, background images, screen recordings, or text overlays using drag‑and‑drop.
● Toggle auto‑captions and background music; you do not need timeline editing.
5. Generate and download
● Click “Generate video” and wait for rendering; HeyGen handles lip‑sync, motion, and scene timing for you.
● Download the MP4 or share via link once processing is complete.
Pictory is built for converting scripts and blog posts into short, branded videos with automatic visuals, captions, and AI voiceovers—ideal for social media clips, YouTube explainers, and repurposing long‑form content.
1. Sign up and choose “Text to Video” / “Script to Video”
● Create an account on Pictory and log into the dashboard.
● Click the text‑to‑video or script‑to‑video option to open the pre‑editor.
2. Add your script or article
● Paste your script into the editor, or use the article/URL option to pull text from a blog post.
● Clean the text: remove fluff, adjust headings, and split into logical sections.
3. Pick template and aspect ratio
● Choose a visual style/template from the library and preview it.
● Select 16:9 (YouTube), 1:1 (feeds), or 9:16 (shorts); you can switch later if needed.
4. Let Pictory build scenes, then tweak
● Pictory automatically turns your text into scenes with matching stock clips, images, and captions.
● Optionally swap clips, change background, edit captions, or select an AI voice for narration—all via simple controls, not classic editing.
5. Export the final video
● Click export/generate; Pictory renders the video with subtitles and voiceover.
● Download the file or use it directly for YouTube, LinkedIn, or shorts.
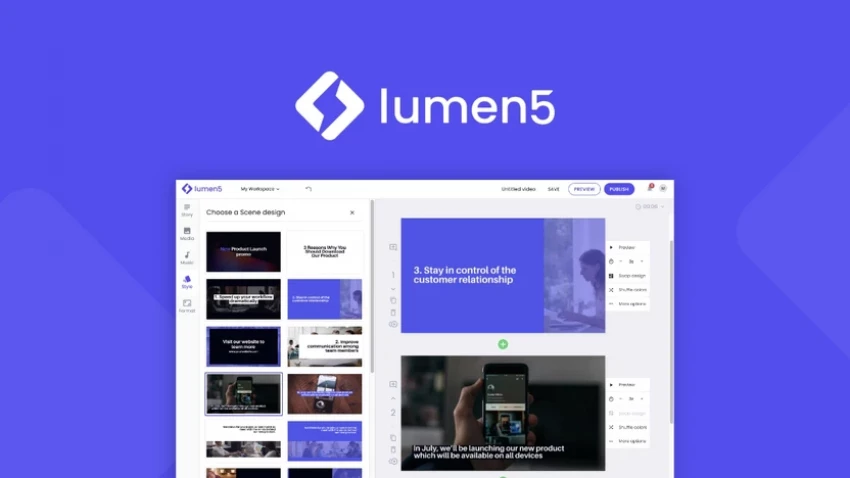
Lumen5 specializes in turning written content into social‑ready videos by automatically selecting scenes, layouts, and stock footage based on your text, often described as “PowerPoint for video.”
1. Log in and start a new video
● Create an account and click “Create video” from the dashboard.
● Choose a format (16:9, 1:1, or 9:16) depending on your target platform.
2. Input content (URL or text)
● Paste your blog post URL or paste your script directly.
● Lumen5’s AI analyzes the text and suggests scenes and captions.
3. Select theme and branding
● Choose a theme/template that matches your brand style.
● Apply brand colors, fonts, and logo so all scenes stay consistent.
4. Review AI‑generated storyboard
● The tool auto‑selects stock footage, images, and layouts to match key sentences.
● Quickly adjust text length per slide, scene order, and media choices through drag‑and‑drop, no manual timeline work required.
5. Add music/voice and export
● Pick background music from the built‑in library or upload your own.
● Export the video in your chosen format and resolution for direct posting.
InVideo combines a rich template library with AI text‑to‑video, giving beginners a guided path to marketing videos, ads, listicles, and social content without complex editing.

1. Create an account and choose a template
● Sign up or log in, then choose “Text to video” or a pre‑built template category (e.g., YouTube, Instagram, promo).
● Select a design you like as your base.
2. Enter your script or points
● Paste your text, bullet list, or headline plus supporting copy.
● The AI splits it into scenes and auto‑maps text to slides.
3. Let AI assemble the draft
● InVideo populates each scene with stock videos, images, and text animations.
● You can switch media, tweak text, or move elements via simple drag‑and‑drop controls.
4. Add voiceover, music, and branding
● Use built‑in AI voiceovers or upload recorded audio.
● Apply your brand kit: colors, fonts, logo, and end screen.
5. Export and repurpose
● Render the video and export in MP4.
● Create alternate aspect ratios from the same project for different platforms.
Synthesia focuses on corporate, training, and instructional videos with realistic avatars and multilingual voiceovers, letting businesses replace many talking‑head shoots with text‑driven production.
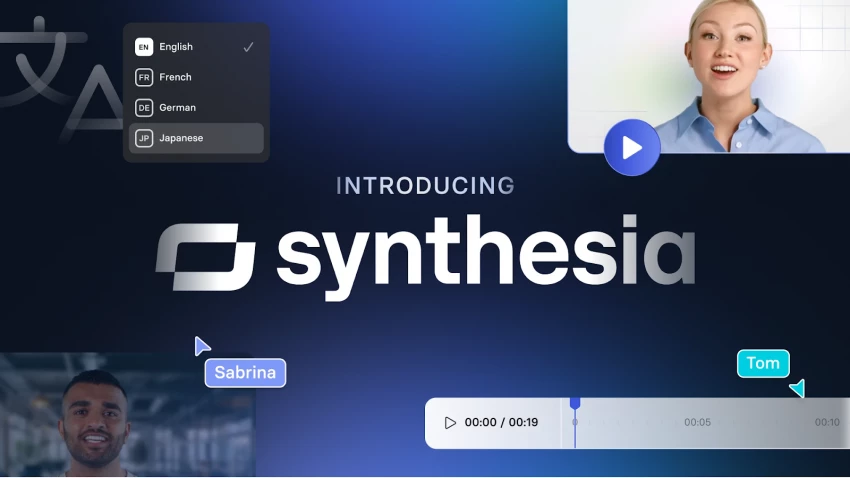
1. Sign up and pick a template
● Create a Synthesia account and access the studio.
● Choose from templates such as training, onboarding, how‑to, or product explainer.
2. Paste your script
● Enter your script scene by scene, or paste it and let Synthesia auto‑segment lines across slides.
● Set language and accent for the video.
3. Select an avatar and voice
● Pick a human‑like avatar from the library or use a custom corporate avatar if available.
● Choose the AI voice and speaking style for that language.
4. Brand and enrich the slides
● Add your logo, brand colors, background visuals, and simple animations.
● Insert screen captures, screenshots, or icons to illustrate each step of your process.
5. Generate, review, and download
● Click generate; Synthesia creates a full video with lip‑synced avatar and voiceover from your text.
● Review, make small text tweaks if needed, then export the final file.
AI video platforms are designed to remove complexity. They typically offer:
● No timeline editing or technical setup
● Pre-built templates and layouts
● AI voiceovers and avatars
● Automatic scene creation
● One-click exports
If you can type text, you can make a video.
AI video generation has removed the biggest barrier in content creation: editing skills. Today, creativity matters more than technical knowledge. If you can describe an idea clearly, AI can turn it into video.
Whether you’re a blogger, marketer, educator, or founder, these tools let you create professional-looking videos in minutes, not weeks—and without touching a single editing timeline.
YouTube Shorts has shifted from a side experiment to one of the fastest ways to...
Samuel Osei1 day ago
Digital advertising has become brutally competitive: users scroll faster, acquis...
Samuel Osei4 days ago
AI image generators have shifted from experimental toys to core creative tools....
Peter Woods5 days ago
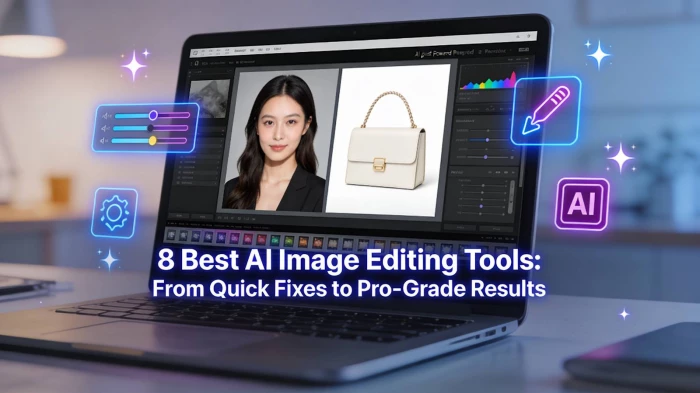
AI-powered image editors are now central to modern content creation, marketing,...
Alexander Hughes6 days ago
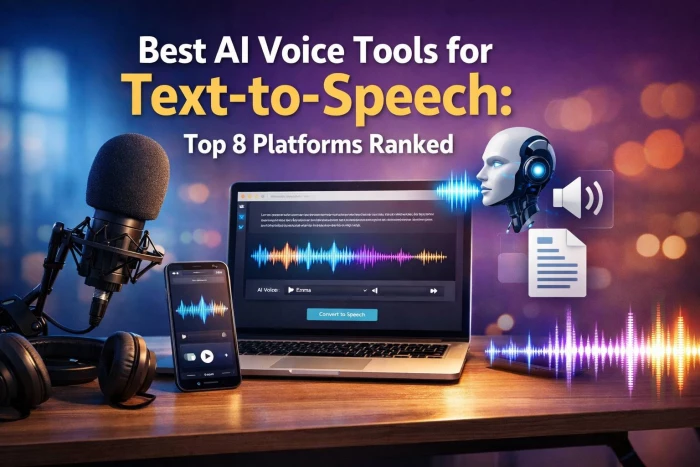
AI text-to-speech (TTS) has evolved from robotic audio to almost human‑sounding...
Samuel Osei1 week ago
IntroductionGraphic design is no longer limited to people who know Photoshop sho...
Funke Ogunleye1 week ago
Discussion